Spring arrives on a single branch. One quick sketch of a cherry blossom drawing is all it takes to turn a blank sketchbook cover into something you actually want to pick up. I discovered this trick by accident while doodling between meetings, and it has saved me from a dozen unfinished pages. The secret is that you are not aiming for a botanically perfect illustration. You are going for that loose, airy feeling, the kind that makes people think you spent hours when you really spent fifteen minutes.
What you actually need for this cherry blossom drawing trick
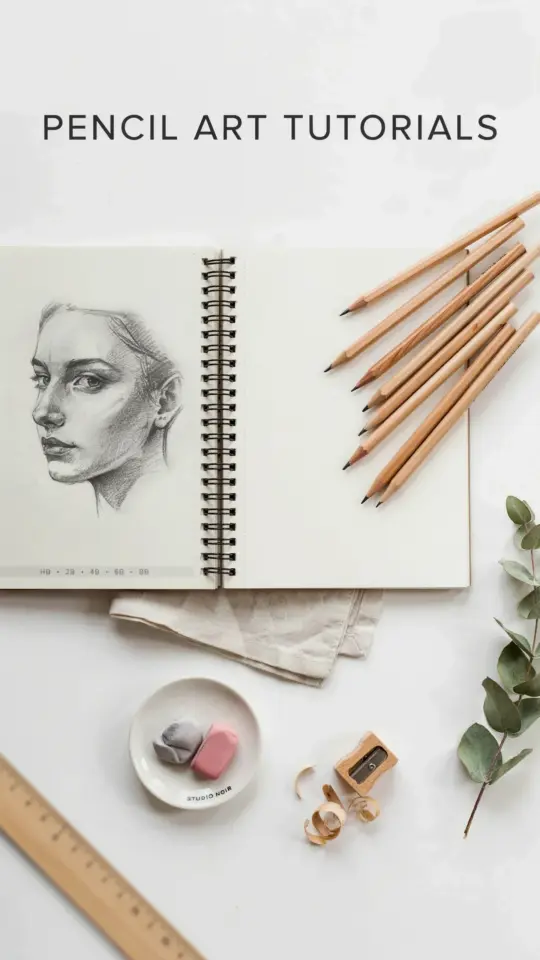
Forget the full artist studio. Because cherry blossoms have such a simple silhouette, you can start with tools that are likely sitting in your desk drawer already. I do recommend one fine liner for the crisp finish described in that Pinterest pin, but even a ballpoint pen works in a pinch. A pencil tutorial style is my favorite since it lets you erase the messy beginnings without guilt.
Here is the short list, nothing expensive:
- A soft pencil (HB or 2B, but any pencil is fine)
- A decent eraser, preferably the kind that doesn’t smear
- A fine liner pen (0.3 or 0.5 gives the best clean look)
- A small piece of paper or your actual sketchbook page
- Optional: a pale pink pencil or marker for a subtle wash of color
That is it. No watercolors, no blending stumps, no complicated brushes. This easy flower drawing idea is supposed to feel accessible, which is exactly why it works so well for beginners.
How to draw flowers and branches without a rigid plan
Most flower tutorials make you map out each petal like a math problem. With cherry blossoms, the opposite approach feels better. Start by drawing a single curved line that will become your main branch. Do not worry if it looks wonky. Actually, a slight curve makes the whole thing look more natural, because real branches never grow perfectly straight.
From that main line, add two or three thinner branches that angle outward. Think of these as the bones of your composition. I like to keep them sparse so the blossoms have room to breathe. When you move to the flowers, you will be grateful you did not overcrowd the base sketch. This part is also where you can begin to shape your sketchbook cover page as a whole, letting the branch crawl from one corner toward the center.
A realistic yet simple way to shape each blossom
Here comes the best trick. A cherry blossom is basically five rounded petals arranged around a tiny center. On paper, you can fake that perfectly by drawing five small circles that overlap slightly in the middle. Press lightly with your pencil, because you will erase the overlaps later. Once you have the five circles in place, connect their outer edges with gentle scalloped curves and add a tiny notch at the tip of each petal.
Yes, that is the whole secret. Real cherry blossoms have that signature notch, and adding it immediately makes your flower read as a cherry blossom instead of a generic plum or apple bloom. For a complete branch, draw a few blossoms at full bloom, a couple at the bud stage (just small ovals), and one side view where you only see three or four petals. This variation is what gives the drawing its delicate, breezy character.
Arranging your sketchbook cover page like a calm collage
If you are making this a sketchbook cover page, think about the full rectangle of your book. A great layout does not stuff every corner with flowers. Instead, leave generous white space around your branch so the pink petals pop later. My favorite composition is to start the branch in the bottom left corner and let it arc gently toward the upper right, with the heaviest cluster of blooms sitting near the middle right.
You can also add small falling petals around the branch. Just draw tiny curved teardrops and leave them floating independently, as if the wind picked them off. That instantly makes the page feel more like a finished piece of art and less like a practice session. If you are nervous about ruining your cover, do the sketch on scrap paper first and transfer the main branch shape with light pencil strokes.
Getting crisp final lines with a fine liner, or keeping it soft
Once your pencil layout feels right, it is time to commit. This is the part where your finish really shines. If you go with a fine liner, trace over the branch first, then outline the petals. Let the ink dry for about ten seconds before erasing the pencil marks underneath. I usually erase carefully with a sweeping motion so I do not accidentally drag ink across the page.
If you prefer a softer look, skip the liner completely and just darken the pencil lines on top of the petals. You can also press harder on the branch and lighter on the flowers, which creates a subtle depth effect. Either way, pay attention to the small center of each blossom. Add three or four little dots inside there, and maybe two tiny curved lines coming out from the center to mimic stamens. That tiny detail is what makes your drawing go from “cute doodle” to “wow, you actually drew that?”
Three tiny variations that make your easy drawing ideas look richer
Once your first branch is done, do not stop. Try a second version where the blossoms are clustered closer together, almost like a bouquet. That teaches you how to overlap shapes without losing the overall flow. Another great practice is to draw just one large blossom taking up a whole page corner, then add thin branches behind it. This works surprisingly well for cover designs because it gives you a strong focal point.
If you want an even looser style, abandon the outline entirely. Draw only the pink color of the petals using a marker or colored pencil, and then add the branch with a fine liner afterward. I have done that variation many times and it always looks fresher than my careful line work. This is also one of the best easy drawing ideas for a lunch break, because it does not demand concentration for more than a few minutes.
Final lines and your own playful start
The most honest advice I can give you is to make the first attempt ugly on purpose. Draw with your non dominant hand, or use a very thick pen, or try not to look at the paper for the first branch. Loosening up this way takes away the pressure and helps you see how simple the shapes actually are. When you go back to your fine liner and neat paper, the cherry blossom drawing will feel almost too easy.
So grab that sketchbook and try it right now. Set a timer for fifteen minutes and just finish one branch with a few flowers. Then please tag me in your version, I genuinely love seeing how different everyone’s blossoms turn out. Actually, leave a quick note in the comments about which technique surprised you the most, the coloring trick or the overlapping circles. I read every single one and I promise to answer with a new flower idea for your next cover.
Leave a Comment