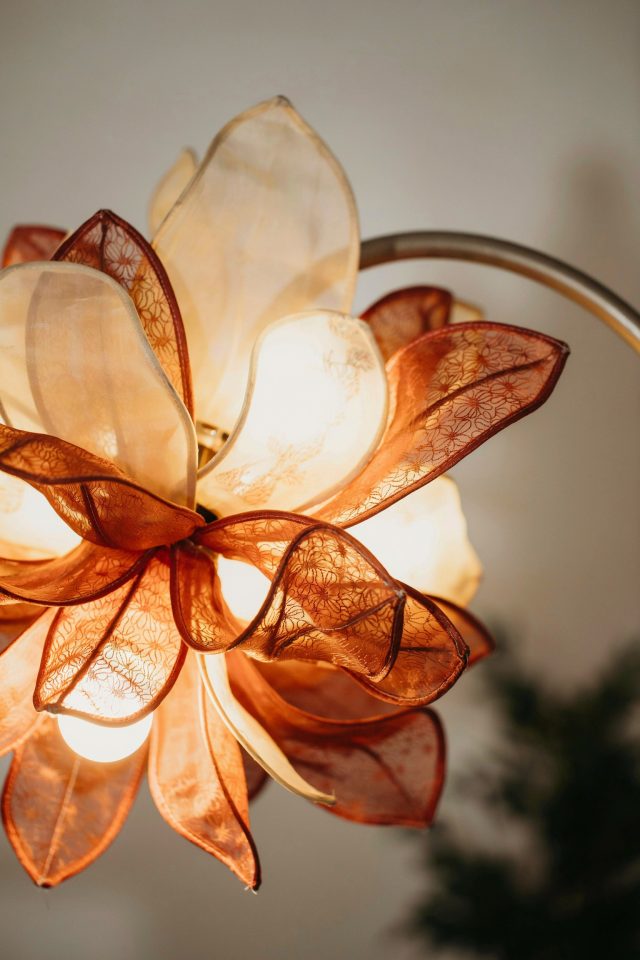
I have a tiny bathroom with a single overhead light that cast harsh shadows and made my morning routine feel like an interrogation. After searching for affordable fixtures that would soften the light and add some character, I stumbled on an idea that combines two things I already had in my craft bin: an embroidery hoop and a pack of bamboo skewers. This DIY bathroom lamp tutorial walks you through turning those simple supplies into a warm, diffused light fixture that looks like it came from a boutique hotel. The best part is that the whole project costs less than twenty dollars and takes about an afternoon to complete.
What You Need for This Embroidery Hoop Lamp Project
Before you start, gather everything in one place. The materials are common and easy to find at craft stores or dollar shops. I used a standard 10 inch wooden embroidery hoop, but you can go smaller or larger depending on your space. The skewers should be the flat bamboo kind, not the round cocktail picks, because flat ones fit together more neatly with silicone glue.
- Wooden embroidery hoop (10 or 12 inch outer ring, remove the inner ring)
- Bamboo barbecue skewers (about 100, flat style)
- Silicone glue (clear, waterproof, and heat resistant for bathroom humidity)
- Light socket kit (with cord, plug, and switch, or a bare socket if you are hardwiring)
- Small light bulb (LED, globe or Edison style, max 40 watt equivalent to avoid heat buildup)
- Scissors or wire cutters (to trim skewer ends)
- Measuring tape and pencil (for marking hoop center)
- Sandpaper or a fine file (to smooth rough edges)
You also need a place to work where you can let the glue dry for at least four hours without moving the hoop. A cardboard box lined with wax paper works well as a drying station. I used a clear silicone glue that remains flexible after curing, which is important in a bathroom where temperature and moisture change often.
Step by Step Guide to Building the Frame
Start by removing the inner ring from your embroidery hoop. You only need the outer ring for this project. Sand the hoop lightly to remove any rough spots or varnish, then wipe it clean with a dry cloth. Lay the hoop flat on your work surface and mark the center point using a piece of string across the diameter. This center mark helps you align the skewers evenly later.
Next, prepare the skewers. You will cut each one to the same length so they form a cylindrical shade around the bulb. Measure the distance from the center of the hoop to about an inch past the edge. For a 10 inch hoop, I cut skewers to 14 inches long. This gives enough overhang to attach them securely while leaving room for the bulb inside. Cut all skewers at once using a sharp pair of scissors or wire cutters. Sand the cut ends so they are not sharp.
Now apply a thin bead of silicone glue along the inside edge of the hoop, all the way around. Place the first skewer vertically against the glue, with its top end aligned with the hoop edge. Press it gently into the glue. Continue adding skewers side by side, placing them as close together as possible without overlapping. I found that about twenty five skewers fit around a 10 inch hoop, leaving small gaps that actually add a nice texture. Let the glue cure fully before moving to the next step, usually two to three hours at room temperature.
Adding the Skewer Diffuser to Your Bathroom Light
Once the glue on the top ring is dry, flip the hoop over carefully. The skewers should now hang down like a skirt. Apply silicone glue to the inside edge of the hoop on this side as well, but this time also add a dab of glue at the bottom of each skewer where it meets the ring. This double bond makes the fixture sturdy enough to hold a light socket and cord without wobbling.
For a more finished look, you can attach a second row of shorter skewers around the outside. I skipped that because I like the raw, slightly rustic appearance of the single layer. However, if your bathroom has a modern style, you can trim the skewers flush with the hoop and paint them a matte black or white before gluing. Use a spray paint designed for wood and bamboo, and let it dry overnight.
After the glue sets completely, test the stability by gently shaking the hoop. If any skewer feels loose, add a small drop of glue at the connection point. The diffuser should spin freely as a unit without any skewer sliding out. This is also the time to trim any uneven skewer ends with a sharp pair of snips. Use sandpaper to smooth the cut edges so they don’t snag your fingers when you change the bulb.
Mounting and Wiring the Fixture Safely
This is the part where you need to decide whether to use a plug in cord or hardwire the lamp. I prefer a plug in version for small bathrooms because it does not require an electrician and can be hung on a hook near an outlet. Purchase a light socket kit that includes a porcelain socket, a fabric covered cord, and a switch. Thread the cord through a small hole you drill in the center of the hoop. Drill the hole with a 1/4 inch bit, then feed the cord from the outside through to the inside.
Connect the socket wires according to the kit instructions. Usually the black wire goes to the brass screw and the white wire to the silver screw. Tighten the screws firmly and wrap electrical tape around the connections for extra safety. Screw the socket into the mounting bracket included with your kit, or use a small metal plate to hold it against the hoop. I used a 3D printed adapter, but a simple metal washer and a nut work just as well.
Insert an LED bulb that produces warm light around 2700 Kelvin. Avoid incandescent bulbs because they get too hot and can damage the bamboo skewers over time. LED bulbs also last longer in humid conditions. Hang the fixture from a ceiling hook or a wall bracket using the cord. If your bathroom has a standard overhead light box, you can hardwire the fixture by connecting the cord directly to the house wiring. Always turn off the breaker before attempting any hardwiring.
Styling Your New Bathroom Lamp in a Small Space
Once your lamp is installed, step back and look at how it changes the room. The skewers cast a soft, striped pattern on the walls and ceiling, which makes the space feel larger and more inviting. If you have a mirror above a vanity, try placing the lamp off center so the shadows fall to one side rather than straight down your face. I hung mine slightly above eye level near the corner, and it eliminated the harsh glare I used to get from the old fixture.
The natural wood tones of the embroidery hoop and bamboo skewers pair well with white tiles, green plants, and brass accessories. You can also stain the hoop with a dark walnut color to match a more industrial bathroom. For a coastal look, paint the skewers a soft blue or sea green. Since the materials are cheap, you can make two or three versions and swap them out with the seasons.
Keep in mind that the skewer diffuser does reduce total light output compared to a bare bulb. That is actually a benefit in a bathroom where you want a relaxing ambiance during a bath. For tasks like shaving or applying makeup, add a secondary mirror light or a small LED strip under the cabinet. This lamp works best as an accent or general mood light, not as your only source of illumination.
Why This DIY Project Saves You Money
Store bought designer light fixtures for bathrooms often cost between one hundred and three hundred dollars, especially if they are made from natural materials like bamboo or rattan. This embroidery hoop lamp costs roughly fifteen dollars total, including the light socket kit and bulb. The silicone glue and skewers are reusable for other projects if you decide to change your decor later.
Another hidden saving is that this lamp is lightweight, around half a pound, so it does not require heavy duty mounting hardware or a reinforced ceiling box. You can hang it from a simple adhesive ceiling hook rated for five pounds, which is perfect for renters who cannot make permanent changes. When you move out, just take the hook down, patch the small hole with spackle, and your deposit stays safe.
Beyond money, this project saves time because it uses materials you likely already have around the house. Most people have an embroidery hoop left over from a craft binge, and skewers are a staple for summer barbecues. Even if you buy everything new, you can finish the lamp in one afternoon including glue drying time. Compare that to ordering a fixture online, waiting for shipping, and then installing it with complicated wiring instructions.
Tips for Customizing Your Embroidery Hoop Lamp
If you want a more polished look, wrap the hoop with cotton twine or thin rope before gluing the skewers. The twine adds a coastal texture and hides the glue seams. You can also weave a few colored threads through the skewers to create a subtle pattern. I tried adding a single strand of turquoise embroidery floss around the middle, and the light catches it beautifully in the mornings.
For a larger fixture, use a 14 inch quilting hoop and longer skewers. Keep in mind that the lamp will be heavier, so use a stronger wedge anchor if you are mounting it to the ceiling. You can also stack two hoops vertically, connecting them with skewers of two different lengths to create a barrel shape. That version makes a dramatic statement above a freestanding bathtub.
One important safety note: bamboo skewers are flammable if they get too hot. Never use a bulb over 40 watts or any non LED bulb that generates heat. Keep the lamp at least six inches away from towels, shower curtains, or any fabric. Silicone glue is waterproof, but the wood hoop is not. If your bathroom gets extremely steamy, consider sealing the hoop with a clear polyurethane spray to prevent warping.
This project is forgiving, so do not stress if your first attempt has uneven gaps or a skewer splits while you cut it. You can always add another glue bead or replace a skewer easily. The imperfections are part of the handmade appeal and make your bathroom lamp feel one of a kind.
I hope this tutorial gives you the confidence to try making your own light fixture. Grab an embroidery hoop, some skewers, and a tube of silicone glue, and see what you create. Your bathroom will feel warmer, more personal, and way more interesting than anything from a big box store.
#bathroomlamp #diy #homedecor #bathroomdecor #lighting
Leave a Comment