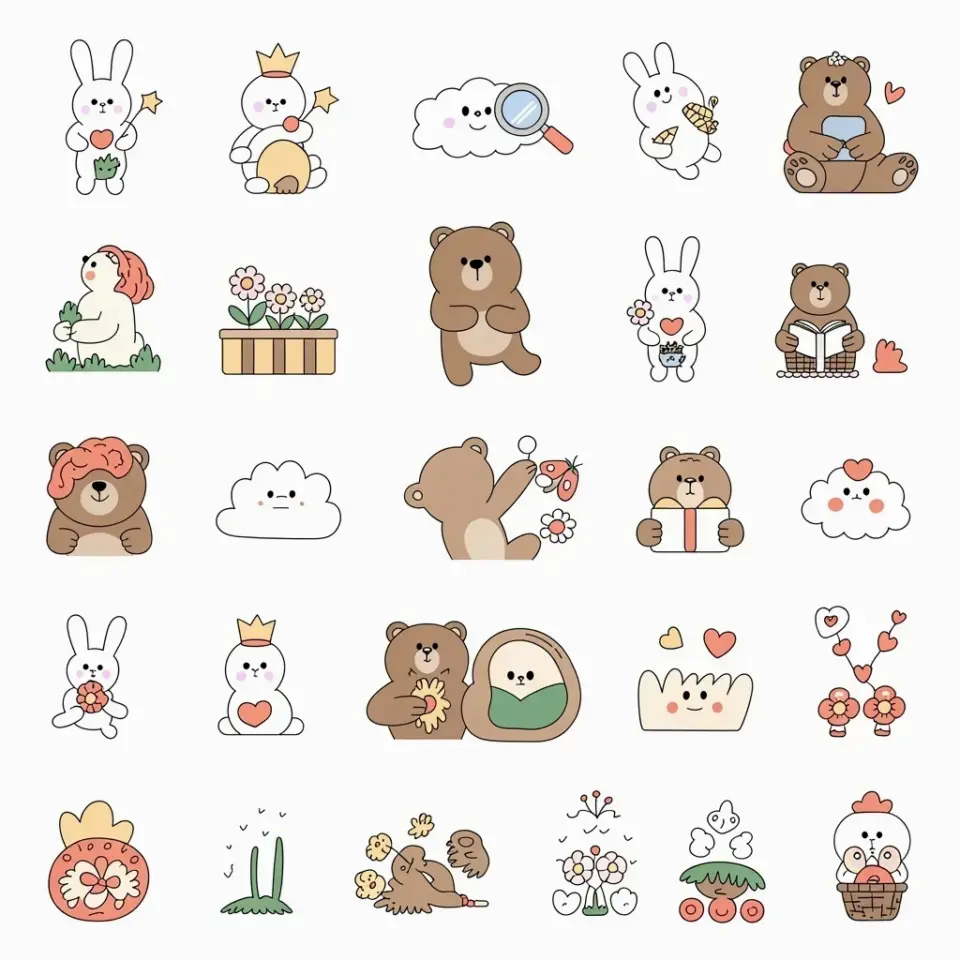
You don’t need to be an artist to add personality to your bullet journal. I started with zero drawing ability and found that doodle icons changed everything for me. These tiny sketches take maybe ten seconds each, but they make your pages look intentional and fun. The best part is that you only need a few basic shapes to create something that actually looks good. No shading, no perspective, no pressure. Just simple lines that become flowers, clouds, stars, or little faces. I promise you can do this too.
Why doodle icons work so well for beginners
When I first opened my bullet journal, all those fancy spreads on Pinterest felt impossible. Then I realized that most of those elaborate designs start with the same tiny drawings I could manage. Doodle icons are forgiving because they don’t have to be perfect. A lopsided star still looks like a star. A squished cloud still looks like a cloud. That freedom takes away the fear of messing up.
Another reason they work is that you can repeat them. Once you learn how to draw a simple flower, you can scatter it across multiple pages. That consistency makes your journal feel cohesive without requiring a ton of effort. You build a small library of icons over time, and soon you have a visual language that is uniquely yours.
Basic shapes to practice before drawing your first icon
Every cute doodle icon comes from a handful of simple shapes. If you can draw these five things, you can draw almost any icon in this article:
- Circles and ovals – for suns, faces, flower centers, and berries.
- Straight lines and curves – for stems, rays, borders, and simple paths.
- Triangles – for pine trees, arrows, and tiny banners.
- Semicircles – for clouds, hills, and animal ears.
- Dots – for seeds, eyes, and texture.
Spend five minutes doodling these basic shapes on scrap paper before you start your journal page. It warms up your hand and reminds you that you already know how to do this. Most people skip this step and then get frustrated when their icons look a little shaky. A quick warm up makes a bigger difference than you think.
Five super easy doodle icons to try today
Here are the five icons I teach everyone who asks me about bullet journal decorating. They require no more than ten strokes each and look good even on the first try.
A simple cloud. Draw a loose wavy line across the top, then connect the ends with a curved bottom. Add a tiny lightning bolt or a few raindrops underneath if you want a weather theme.
A tiny flower. Make a small circle in the center, then draw five or six little ovals around it. Add a curved stem and two leaves. That is it. You can make it look daisy-like by using fewer, longer petals.
A five-point star. Start at the top point. Go down left, then up right, then across left, then down right, then back up to the top. If your lines are a little crooked, the star still reads as a star. I actually prefer slightly imperfect stars.
A crescent moon. Draw a curve like a parentheses. Then draw a smaller curve inside it, connecting at both ends. That creates the classic moon shape. Add a tiny star next to it for a night sky vibe.
A little smiley face. Circle for the head, two dots for eyes, a curved line for the mouth. That is the most basic version. You can change the mouth to a straight line or a frown for different moods. I use these as to-do list check marks sometimes.
How to combine doodle icons with other bullet journal elements
Doodle icons work best when they are part of a layout, not just floating alone. Try using them as bullet points for your daily tasks. Instead of a boring dot, draw a tiny star for important items or a little heart for things you are excited about. That small change makes reviewing your day more pleasant.
You can also group icons around a habit tracker. Draw a small water drop next to your hydration habit, a little book next to reading, and a sun next to getting outside. When you fill in the tracker, the icons remind you of the activity without needing to read anything. I have found that this visual cue actually helps me remember to drink water.
Another idea is to use icons as page markers. Draw a consistent icon at the top of each section in your journal. For example, a small pencil icon on notes pages, a calendar icon on monthly spreads, and a flower on collections. When you flip through your journal, you can spot the section you need in seconds.
Common mistakes to avoid when starting with doodle icons
The biggest mistake I see beginners make is pressing too hard with their pen. Heavy pressure makes lines look rigid and hard to correct. Try to use a light touch so you can go over a line again if needed. Most ballpoint pens work best with a gentle hand.
Another mistake is trying to draw icons that are too detailed. Stick to things you can finish in under fifteen seconds. If a doodle takes longer than that, it stops being a quick icon and becomes a small drawing. Save the elaborate pieces for a separate sketchbook if you want to explore later.
People also forget to leave white space. Filling every corner with doodles makes the page feel busy and hard to read. I like to add icon clusters in the corners or next to headers, but I leave the middle of the page mostly clear. That way the icons decorate without distracting from the content.
Tools you actually need (and the ones you don’t)
You do not need fancy art supplies. I use a regular black ballpoint pen for most of my doodle icons. A fine liner pen in 0.3 or 0.5 mm gives a slightly cleaner line, but it is not necessary. The only tool I would recommend buying is a pen that does not smudge easily, especially if you are left-handed.
A simple mechanical pencil can be helpful for sketching first drafts. But honestly, I stopped using pencils after the first week because I realized erasing was slowing me down. Now I draw directly in pen and accept the tiny wobbles. They add character.
The one thing you should have is a notebook with smooth paper. Cheap paper that feathers or bleeds through will ruin your doodles. Most bullet journals use 100 gsm paper or higher, and that works beautifully. If your journal has thin pages, just place a scrap sheet underneath to catch any bleed.
You might see people online using brush pens or watercolor for their icons. Ignore that for now. Start with pen only. Once you feel confident with the shapes, you can play with color later. I still use only black ink for my daily pages because it keeps everything clean and fast.
I hope these ideas give you a solid starting point. The hardest part is putting pen to paper and letting yourself make imperfect little drawings. Once you get past that hurdle, you will wonder why you ever thought you could not do it. Save this post for your next doodle session and try at least one of the icons tonight.
#doodleicons #easydoodles #bulletjournalideas #simpledrawings #doodleart
Leave a Comment