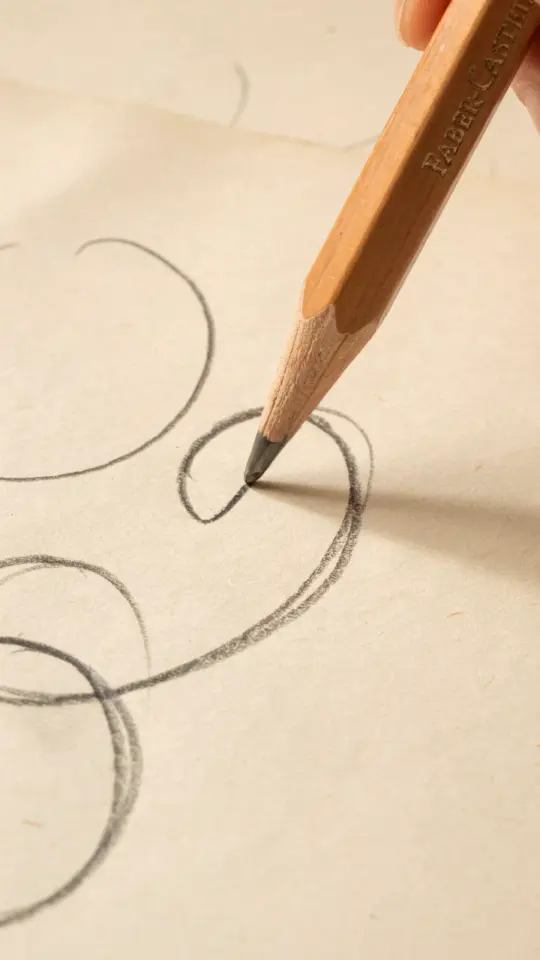
There is something almost meditative about drawing eyelashes, once you let yourself get past the fear of messing up the whole sketch. I remember sitting on my bedroom floor with a single black colored pencil, a Strathmore drawing pad, and absolutely no idea what I was doing, just pressing the tip against the paper and hoping for the best. That first attempt looked less like an eye and more like a confused spider. But honestly, after a few slow, patient hours, things started to click.
Learning to draw eyelashes is one of those budget art ideas that asks for almost nothing from your wallet. One black pencil, one sheet of decent paper, and maybe fifteen minutes of your afternoon. That’s it. No fancy brushes, no ink liners, no tablet or stylus. Just you, a pencil, and the quiet satisfaction of watching your hand get smarter.
Why a single black pencil is enough for your sketchbook
Look, you do not need a full artist-grade kit to practice drawing eyelashes. A basic black colored pencil, something like a Prismacolor or even a store brand, will do the work just fine. The trick is in how you use the tool, not which brand wins the popularity contest. That said, a soft black pencil does give you a richer, darker line than a hard one, and that makes the contrast pop nicely on white paper.
Graphite pencils are fine, but they leave that shiny grey sheen that can cheapen the look of a sketch. A black colored pencil applies pigment more evenly and lets you build up depth with layering. I have used the same Prismacolor black for years now, through dozens of sketchbooks, and it still has a solid quarter inch of tip left. These things genuinely last forever, which is good because the constant sharpening does eat them down eventually.
Choosing the right paper for pencil drawing beginners
If you are just starting out, do not overthink the paper. A smooth or medium tooth surface is your best friend for fine details like eyelashes. I like Strathmore drawing paper because it has enough texture to grab the pigment but not so much that it eats the pencil tip or leaves weird white speckles. That balance matters more than price, honestly. A cheap spiral notebook with slick pages will smudge and smear, and you will end up frustrated for no real reason.
You can absolutely practice on printer paper if that is all you have, but be prepared for a less satisfying experience. Printer paper is too smooth for colored pencils to grip properly, so the strokes come out lighter and harder to control. Save yourself the headache and grab a proper sketchbook with some tooth to it.
How to draw realistic eyelashes with stroke control
Before you draw a single lash, understand this one thing: eyelashes are not uniform little spikes. They curve, they cross, they grow in uneven clusters along the eyelid line. My early drawings looked fake because I treated every lash like a straight, identical hair. That is not how it works. Each stroke should come from the eyelid, sweep outward, and taper to a fine point at the tip.
Here is the basic process I use every time:
- Start with a very light sketch of the eye shape, just to anchor your lashes in the right place.
- Draw the upper lashes with quick, confident flicks upward, letting the pressure fade at the end of each stroke.
- Add the lower lashes in shorter, thinner strokes, because the bottom lashes are naturally more delicate.
- Build up the density in layers, letting some strokes overlap each other for depth.
- Keep a few lashes longer and more separated than the rest to break up the monotony.
One thing I wish someone had told me earlier: the direction of your strokes matters more than the amount of pressure you use. If you pull the pencil from the root of the lash outward, you will get that natural taper for free. Push the pencil the other way, and the line starts thick and ends blunt, which looks awful.
Common eyelash drawing mistakes beginners make
The biggest issue I see in new sketchbook artists is pressing down too hard on the pencil. This kills the taper, makes the line look like a dead stick, and leaves you with dark marks that are nearly impossible to erase. Instead, think of the pencil tip as a feather grazing the paper, light at the beginning, lighter at the end. You can always go darker, but you cannot go lighter once that pigment is locked in.
Another classic mistake is making all the lashes the same length and curve. That creates a stiff, unnatural fan effect. Real lashes have personality, some point more toward the corner of the eye, some droop slightly, some hook backward. Mix it up. Let each stroke have its own little character, and the whole eye will feel alive instead of mannequin-like.
And for the love of your sketchbook, do not draw a solid black outline around the eye first. A heavy outline traps you into a cartoon look and leaves no room for the lashes to tell their own story. Keep the lid line light and let the lashes carry the visual weight.
A simple step by step eyelash practice exercise
If you want a low pressure way to train your hand without ruining a full portrait, try this warm up. Draw a small oval on your paper, about the size of your thumbnail. This is your pretend eye. Now, with your black pencil, draw ten lashes along the top edge, all starting from different points and all curving at slightly different angles. Do not worry about perfection. This is practice, not a gallery piece.
Once the top is done, add five or six thinner lashes on the bottom curve, but keep them much shorter and lighter. Flip the page or move to a fresh oval and do it all over again. After five rounds of this, your hand will start to remember what the motion feels like, and the strokes will become more natural and fluid. It is a weirdly addictive exercise, by the way. I have filled entire pages with these little training ovals during my lunch breaks.
Try switching up the sharpness of your pencil for variety. A freshly sharpened point gives crisp, defined lashes, while a slightly blunter tip gives a softer, more smudged look. Both are useful, and learning when to switch between them is part of the fun.
Budget art supplies that actually last
Here is the thing about budget art: the cheapest option is not always the best value. A five dollar pencil that breaks ten times is basically wasted money. A slightly better pencil, even if it costs a couple bucks more, can survive years of drawing eyelashes and everything else. I am not saying you need the most expensive stuff, just that reliability beats price tag when you are learning.
For paper, I stand by Strathmore, but I have also had good results with Canson and even some of the thicker drawing papers from generic brands. The key is finding a tooth that feels right under your hand. If the pencil glides with a tiny bit of resistance, that is the sweet spot. If it squeaks or skids, try another page.
You really do not need a full arsenal of supplies for this. A black colored pencil, yes. A decent sketchbook, yes. An eraser, maybe, although I rarely use one because I like the raw look of mistakes staying on the page. That is a personal preference, though. Some people like a clean slate, and that is fine too.
Final thoughts on your sketchbook art journey
Drawing eyelashes is not the kind of skill that comes to you in a dramatic flash of inspiration. It sneaks up slowly, one tiny stroke at a time, until one day you look at your sketch and realize it actually looks like an eye. That moment is worth every bit of the awkward early attempts.
So grab that one black pencil, flip to a fresh page in your sketchbook, and give it a shot today. Spend ten minutes, or thirty if you are feeling generous with yourself. Even if the first try looks rough, your second one will already look better, and that progress is the whole point. Save this tutorial for your next sketchbook day, and do not forget to practice those little training ovals. You might surprise yourself with how fast your hand learns the rhythm. I am rooting for you.
Leave a Comment