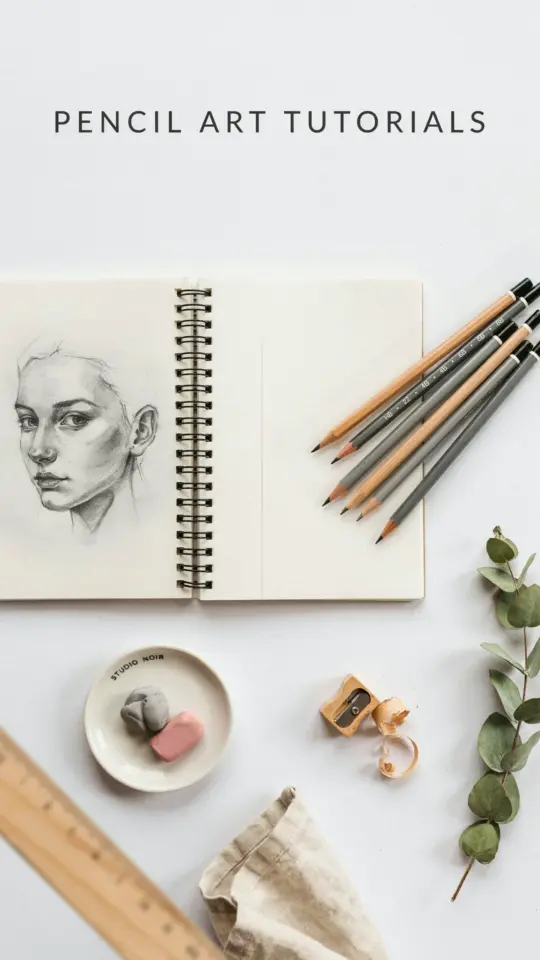
If you have ever wanted to try a cherry blossom drawing but felt intimidated by all those delicate petals, I promise you it is easier than it looks. I remember the first time I sat down with just a pencil and an eraser, convinced I would mess up the soft curves. But once I broke the whole process into simple steps, everything clicked. This beginner friendly tutorial will walk you through each stage, from basic shapes to realistic pencil shading, so you can create your own beautiful flower sketch. No fancy art supplies are needed, just a pencil, some paper, and a little patience.
Gathering Your Simple Drawing Supplies
Before you start your pencil art tutorial, gather just a few things. You do not need expensive tools. A standard HB pencil works great for outlines, and a softer 2B or 4B pencil helps with darker shading. A kneaded eraser is handy for lifting graphite, but any soft eraser will do. Grab a sheet of plain printer paper or a sketchbook. That is it.
- HB pencil (for light lines)
- 2B or 4B pencil (for shading and darker marks)
- Soft eraser (kneaded is best, but any works)
- Plain paper (any kind is fine)
Keep your pencil sharp for fine details, but you can also use it blunt for soft shading. The goal here is to keep things low pressure and easy to follow.
How to Draw Cherry Blossom Petals Step by Step
The secret to a realistic flower drawing is starting with simple shapes. A cherry blossom has five petals, each with a small notch at the tip. Draw a light circle for the center, then sketch five oval shapes around it. Do not worry about perfection at this stage. These are just guides.
Next, refine each petal. Make the base of the petal narrow where it connects to the center, and widen it toward the edge. Add a tiny V shaped notch at the outer edge of each petal. Erase any overlapping guide lines. If your petals look a little uneven, that is normal. Real flowers are never perfectly symmetrical, and that gives your drawing character.
Sketching Cherry Blossom Branches for Beginners
A cherry blossom drawing feels incomplete without a branch. Start by drawing a slightly curved line from the bottom of your flower. Cherry blossom branches are thin and tend to zigzag a little. Add a second line parallel to the first, then fill the space between them with light shading to give it volume.
For side branches, draw smaller lines branching off at natural angles. Do not make them too straight. Add a few tiny bumps or knots along the branch for realism. If you want more flowers, attach small circles at the tips of these branches. You can draw additional blossoms later using the same petal method.
Easy Pencil Shading Techniques for Soft Petals
Now that your outlines are ready, let us add depth. Use a soft 2B pencil to shade gently on the inner edges of the petals. Cherry blossoms are pale pink and white, so in pencil art you create that lightness with very light gray tones. Shade in the direction of the petal curves, from the center outward.
Leave the center of the flower mostly unshaded, then darken the area around the base of the petals. Add tiny thin lines radiating from the center to suggest the stamens. For the branch, use short hatch marks along one side to create a shadow. Blend the graphite with your finger or a tissue for smoother transitions. Less is more here. You can always add more darkness later.
A Realistic Sketch Tip: Add Details Without Overdoing It
One mistake beginners often make is adding too many lines. For a realistic look, keep the edges soft and avoid harsh outlines. Use your eraser to lighten any lines that are too dark. You can also erase a few tiny spots on the petals to create highlights, which makes the flower look fresh and three dimensional.
Add a few small leaves to the branch if you like. Cherry blossom leaves are oval with serrated edges. Keep them small so they do not overpower the flowers. A couple of buds (unopened circles with a tiny point) also add variety. The key is to work lightly and build up gradually. Step back every now and then to see the whole picture.
Putting It All Together: Your First Complete Cherry Blossom Drawing
By now you have a single flower, a branch, some shading, and maybe a few extra blossoms. To finish your drawing, take your HB pencil and lightly add a background suggestion, like a soft circle behind the flower. Or leave the background empty for a clean sketch style. Sign your name at the bottom corner. That is your first how to draw cherry blossom piece done.
Do not be afraid to try this same process again with different angles. Turn the petals slightly, change the curve of the branch, or add more flowers. Each attempt teaches your hand how the shapes work together. With practice, you will be able to draw cherry blossoms from memory, and that feels really satisfying.
Leave a Comment