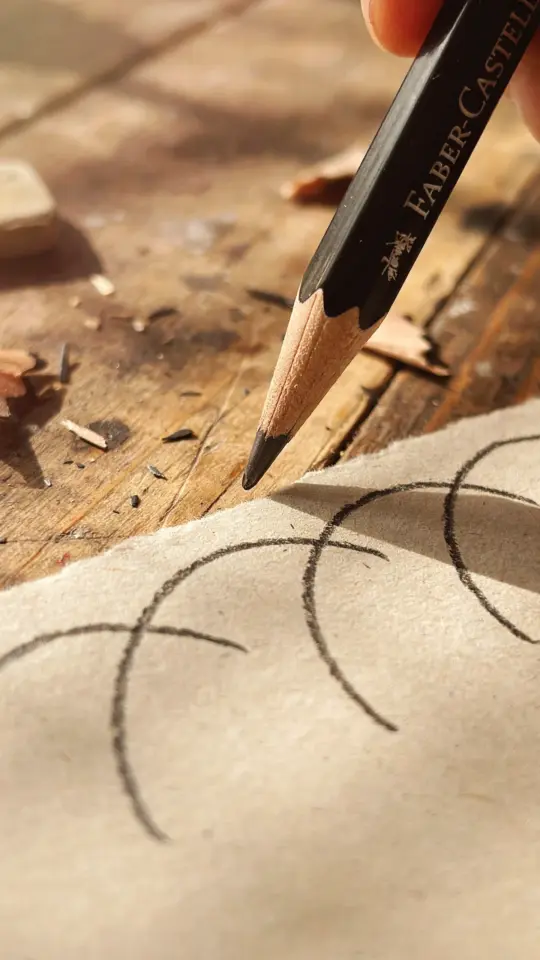
If you have ever tried to draw eyelashes with pencil and ended up with stiff, spiky lines that look more like a cartoon villain than a real person, you are not alone. Getting natural lash texture is one of the trickiest parts of a realistic eye drawing tutorial. I have spent hours on Strathmore paper with a Prismacolor black colored pencil, and let me tell you, the difference between amateur-looking lashes and believable ones comes down to a few simple shifts in technique. This is a medium difficulty process, but once you understand the logic behind each stroke, your pencil art will instantly look more polished. So grab your sketchbook and let us break this down into a few core ideas that actually work.
Why Your Choice of Pencil and Paper Changes Everything
Around half the struggle with drawing eyelashes is using the wrong tools. A soft, oily pencil like Prismacolor black gives you rich darkness and smooth buildup, while a harder graphite pencil will leave scratchy, gray marks that look nothing like real hair. On the paper side, Strathmore or any medium-tooth drawing paper holds the pigment without letting it smear into a mess. You do not need expensive supplies, but you do need a pencil that can go fully dark without pressing so hard you dent the page.
Here is what I recommend for realistic eye drawing with pencil:
- Prismacolor Premier black colored pencil (or any soft, wax-based black)
- Strathmore 300 series drawing paper (or a similar brand with slight tooth)
- A kneaded eraser for lifting highlights
- A sharpener that gives a long, pointed tip (a craft knife works better)
The sharp point matters more than you think. A dull pencil forces you to use pressure to get darkness, which ruins the taper at the end of each lash. Keep that tip fine.
The Direction and Flow Game: Lashes Follow a Curve
This is the single biggest mistake I see in beginner pencil art tutorials: drawing eyelashes as straight lines radiating from the eye. Real lashes curve. They swoop outward, then upward, and the direction changes depending on which part of the eyelid they come from. Look at your own eye in a mirror. Notice how lashes near the inner corner point diagonally outward, while lashes in the middle go straight up, and those on the outer edge sweep toward your temple.
To get that natural flow, imagine the eyelid as a curved surface. Each lash starts at the lash line, then arcs away in a smooth C shape. Do not draw every hair individually. Instead, sketch the overall direction of the lash line with a light hand first. Then add individual strokes that follow that same curve. Your realistic eye drawing will look ten times more organic instantly.
Pressure Control for Natural Texture
Lashes are not uniform in thickness or darkness. The base is thicker and darker, the tip is thin and light. If you apply the same pressure from start to finish, you get a tube, not a hair. The trick is to use a light touch at the beginning of the stroke, press slightly harder in the middle, then lift off as you flick outward. This creates that tapering effect that makes eyelashes look soft and real.
Try this exercise: draw a series of short flicks on scrap paper, focusing only on the pressure variation. Do not worry about placement. Just practice making the start heavier and the end feathery. Once your hand remembers that motion, apply it to your eye drawing. The Prismacolor black pencil is forgiving because it builds up smoothly, but you still need to control your hand speed. A fast flick gives a cleaner taper than a slow drag.
Grouping Lashes Instead of Isolating Each Hair
In reality, eyelashes grow in small clusters, not evenly spaced singles. When you draw every lash as a distinct, separate line, the result looks mechanical. A better approach is to treat lashes like small groups. Two or three strokes close together, then a gap, then another cluster. This mimics natural growth patterns and creates a more believable texture.
For your next pencil art session, try this: instead of planning out each individual hair, decide on three to five main clusters along the upper lid. Within each cluster, draw two or three lashes that overlap slightly at the base but separate at the tips. Leave tiny gaps between clusters. Your drawing will feel alive and less like a diagram. This method is especially effective for the lower lashes, which are finer and sparser.
The Upper vs Lower Lash Difference Matters More Than You Think
Many drawing tutorials treat upper and lower lashes the same way, but they are fundamentally different. Upper lashes are longer, darker, and curve upward. Lower lashes are shorter, lighter, and curve
#draweyelashes #pencilart #eyedrawing #realisticeye #drawingtutorial
Leave a Comment