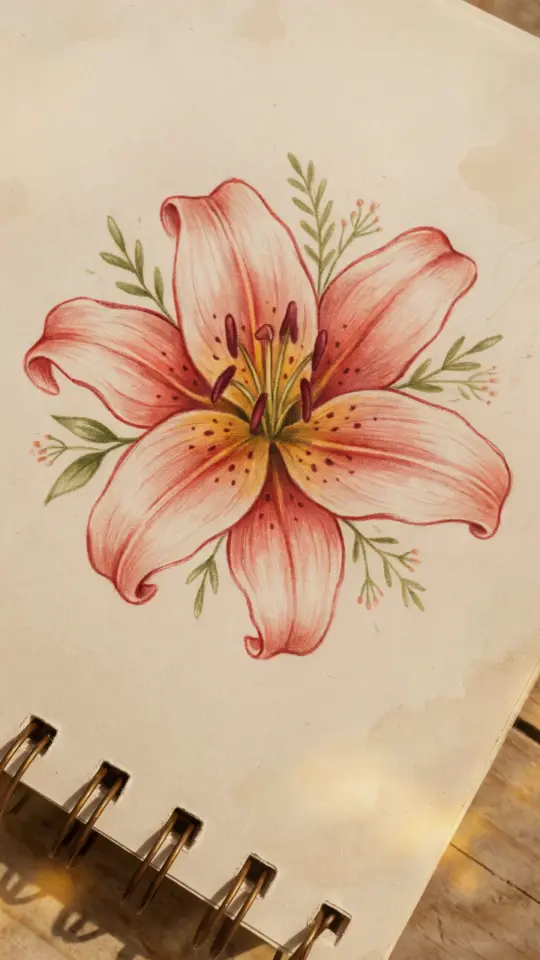
I remember sitting in my kitchen last spring with a fresh lily on the counter, a cheap sketchbook, and absolutely no clue where to start. That feeling of wanting to draw something delicate but being convinced you’ll mess it up is why I love sharing simple tutorials like this lily drawing. The best part is that you don’t need years of practice or expensive supplies to create something you’ll actually be proud of. This guide will walk you through an easy botanical sketch that works for total beginners and fits right into sketchbook inspo boards on Pinterest. Let’s get started with zero pressure and a lot of forgiveness for wobbly lines.
Why a Lily is Perfect for Your First Botanical Sketch
Lilies have a surprisingly forgiving structure. Their petals are long and curved, not perfectly symmetrical, which means your hand doesn’t need to aim for robot-level accuracy. You can make the petals a little wider or narrower, and the flower still reads as a lily. I’ve drawn dozens of them, and my early ones had petals that looked more like bananas. They still looked like flowers.
Another reason lilies are ideal for beginners: they have a clear center line and six petals, but you don’t have to draw all six if you’re working from an angle. Most reference photos show three visible petals and three behind. That’s the exact level of detail that keeps a botanical sketch from feeling overwhelming. So if you’ve been stuck on roses or orchids, switch to a lily and feel the relief.
Materials You Actually Need for a Simple Lily Drawing
You don’t need a whole art store haul. For this tutorial you really only need four things:
- Pencil (HB or 2B is fine – don’t overthink it)
- Eraser (any kind, even a pencil cap eraser works)
- Paper (printer paper, sketchbook paper, or watercolor paper if you plan to paint)
- Colored pencils or watercolor (soft pink and white, plus a light green for the stem)
That’s it. I’ve used a mechanical pencil from a gas station and a random notebook before, and it turned out fine. If you have a kneaded eraser, great, but a regular one will do the job. The goal here is to start, not to buy the perfect toolkit.
Breaking Down the Lily Shape: Step by Step for Beginners
Start by drawing a light vertical line for the stem. Keep it loose and slightly curved – flowers hardly ever stand perfectly straight. Then add a small curved line near the top of the stem to represent the angle of the flower head. This line is your guide for where the petals will point.
Now draw three oval shapes radiating from that top point. Think of them as teardrops or petals that are widest in the middle and taper at the ends. Place one petal on the left, one on the right, and one in the middle but slightly higher. These are your front petals. The back three petals will peek out between them, so you only need to draw small curved triangles behind each gap. Don’t worry if they don’t look identical. Real lilies have petals that curve and twist individually.
Once the basic shape is down, add a few light lines inside each petal to suggest the veins. Just one or two strokes per petal is enough. Then draw a tiny V or a small cluster of dots in the center for the stamen. That’s literally the whole structure. If you can draw a wobbly oval, you can draw this lily.
Adding Soft Pink and White Petals with Colored Pencil or Watercolor
I prefer colored
#lily #drawing #botanicalsketch #flowerart #sketchbookinspo
Leave a Comment