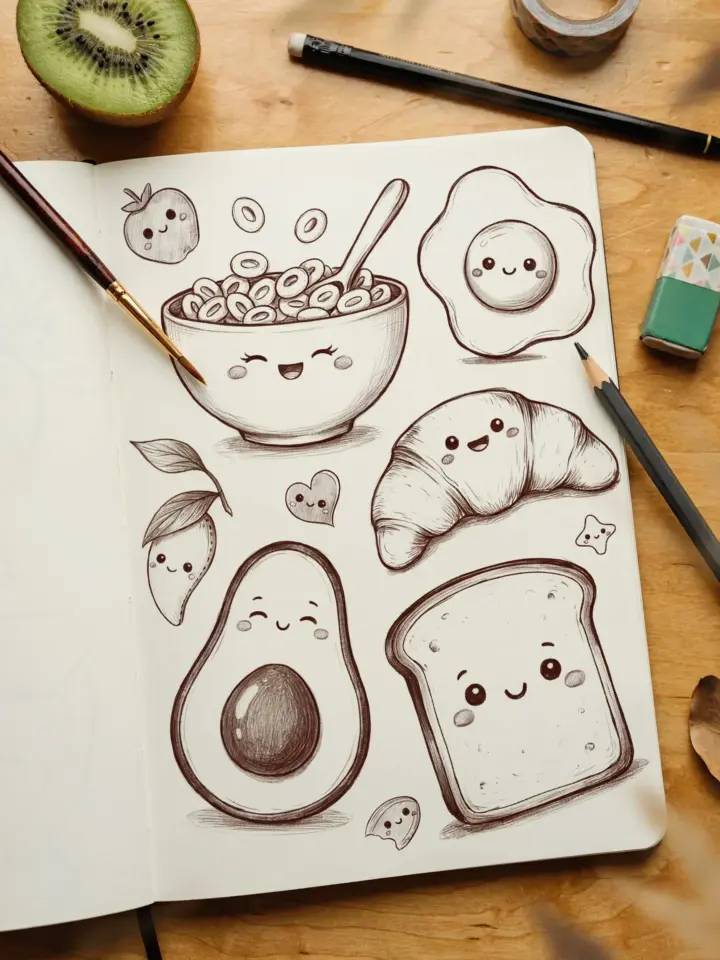
You’re sitting there with a pencil and maybe a piece of printer paper, and you’re pretty sure you’re about to mess it up. That’s exactly why this pencil art tutorial is different. We’re shading a sphere, the most forgiving shape in the universe, and the only tools are a single pencil and something to smudge with. No fancy kits, no erasers (unless you really want one), just the basics.
The best part? You can’t really fail at this. A sphere is just a circle with a story. The story is told through the gradient, the transition from dark to light. And getting that gradient right is about ninety percent of what beginner pencil shading is. So let’s turn that flat circle into something that looks like it could roll off the page.
What You Need for This Pencil Shading Project
Look, before we get into the good stuff, let’s talk logistics. You need a pencil. Not a specific type. A standard number two from the kitchen drawer works, but if you have an HB or a B pencil, you’re already winning.
You’ll also need something to blend with. The classic trick is a tissue, but here’s a weird little aside: I once used the clean end of a bandaid because I couldn’t find anything else. It worked fine. So don’t stress about the blending tool. A paper towel, a cotton swab, even your finger (if you want to look like a chimney sweep afterward) will do the trick.
Grab the heaviest paper you can find. Cardstock is great. Normal notebook paper is workable, but it might tear if you get aggressive with the erasing and smudging. That’s it. That’s the whole supply list. Honestly, if you have a pencil and something to smear graphite with, you’re ready.
Setting Up Your Scene and Light Source
Ok so, the ground rule for any pencil art tutorial is consistency. You have to pick a direction for your light and stick to it like your life depends on it. Let’s pretend the light is coming from the top left. That means the top left side of your circle will be bright, and the bottom right will be dark.
Here’s the thing: don’t just draw a perfect circle freehand if you can’t. Use a compass, trace a cup, or draw it a bunch of times until it looks round enough. A wobbly circle will just distract you from the shading work, which is the whole point of this exercise.
Once you’ve got your circle, stare at it for a second. Visualize the light hitting it. See that crescent of shadow hugging the bottom right edge? That’s your mission. You’re not shading the whole circle evenly. You are definitely not shading it in a straight line. We’re building a curve of tone.
The First Layer: Mapping Out the Core Shadow
We’re going to start with the darkest part, which is the core shadow. This isn’t the very edge of the sphere, by the way. It’s a little bit inward, hugging the curve. Look at a ball in real life and you’ll see the edge often catches a bit of reflected light from the table, so the darkest spot sits just inside the perimeter.
Take your pencil and start laying down a light, even layer of graphite along that bottom right curve. Don’t press hard. This isn’t a race to black. You’re just marking territory. Think of it as sketching with the side of your lead, not the tip.
Keep it rough. Keep it messy. The goal here is to just get some pigment on the paper so you have a roadmap. We’re going to blend this out anyway, so it doesn’t need to look pretty right now. It needs to exist.
Blending Techniques to Create a Smooth Gradient
Alright, this is where the magic happens. Take your tissue, fold it up into a nice little pad, and start rubbing that dark section you just drew. Don’t scrub at it like you’re trying to erase a stain. Use a gentle, circular motion to pull the graphite outwards into the lighter areas.
You want to pull the dark pigment up and around the curve, gradually letting it fade as you get closer to the top left highlight. This is how you get a smooth transition instead of a harsh line that screams “I drew a solid gray pancake.” The tissue is your best friend here. It blurs the edges of your strokes.
One thing I see beginners do is blend, then add more graphite, then blend, then add more, then blend. That’s actually correct. But don’t try to do it all in one go. Stop blending while it still looks slightly rough. Go back in with your pencil and darken the core shadow again, then blend it out again. It builds depth like a lasagna, one layer at a time.
Adding the Cast Shadow for Grounding
Your sphere is floating right now. There’s no floor, so it looks like a hologram. You need a cast shadow. This is the dark blob that appears on the table directly under and to the right of the sphere, on the opposite side of the light source.
The cast shadow gives the drawing physical weight. It tells the viewer that this thing is sitting on something. It doesn’t need to be perfectly shaped, but it should be darker than the darkest part of the sphere itself for the most part. Also, it will be much darker right where it touches the sphere, and it should fade out as it spreads away.
Use your finger or another tissue for this shadow. Actually, using a slightly dirty tissue is perfect because it has leftover graphite, and it won’t be as harsh as a pure pencil stroke. Just smudge a dark area under the sphere in the direction your light dictates. That’s it. It grounds the whole piece.
Building Up Value with Layers
Now we get into the repetitive part of pencil art tutorial work. You’re going to take a step back and look at your sphere. Is the contrast strong enough? For most beginners, the answer is no. We’re too scared of going dark. We chicken out and leave everything a medium gray.
Don’t chicken out. Go back in and deepen that core shadow. Add more pressure, or use a softer pencil if you have one. This is where the sphere starts to pop. The difference between a flat drawing and a three-dimensional one is the commitment to the dark values.
Remember to keep blending after each layer. Layer, blend, evaluate, repeat. Your tissue will get a little grimy, and that’s perfect. Also, don’t forget the highlight. You don’t have to “draw” the highlight. You just leave the paper blank. If you accidentally smudged over it, that’s what an eraser is for. A quick tap with the eraser will bring the white back and create that shine that makes the sphere look like a ball.
Final Touches and What to Practice Next
Alright, we’re almost done. Take one last look at your whole drawing. Is the transition smooth? Does the core shadow sit in the right place? Is the cast shadow grounded? You can also look at it from a distance or squint your eyes. Squinting helps you see values without being distracted by details.
If you want to keep going, try to push the gradient further. Make the dark side exceptionally dark, without washing out the nice clean highlight on the top left. The broader the range between dark and light, the shinier your sphere looks. A matte sphere has a softer transition. A glossy one has a sharp edge between the light and the shadow.
That’s the whole exercise. Honestly, the hardest part is just being confident with that tissue and not being afraid to make it messy. Once you get the hang of the basic ball, you can try a cone or a cylinder. They use the exact same logic, just on different shapes.
Put Down the Pencil for a Minute
You did it. You made a sphere, and you instantly got better at pencil shading than you were twenty minutes ago. This is the foundational skill for everything from portraits to landscapes, so grab a fresh circle, try a different light source, and see what happens.
If this quick lesson helped you out, I’d love to hear how your sphere turned out. Drop a comment below and let me know if your gradient went smoothly or if you ended up wearing your blending tool. Now go draw something else before you lose the momentum. You’ve got this.
Leave a Comment