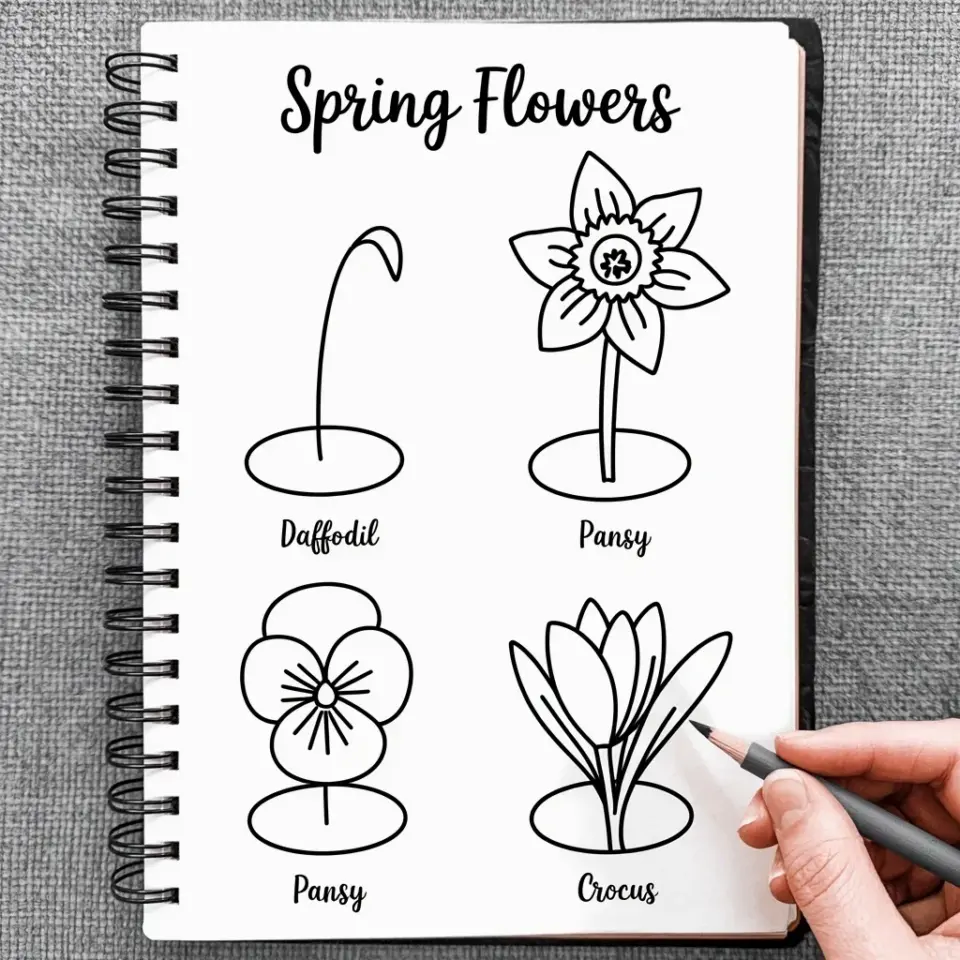
I sketched this spring flowers easy drawing ink doodle the other day and honestly couldn’t believe how different it looked after adding all the tiny details. The ‘before’ was just a loose pencil outline but the ‘after’ with black ink and little dots made it pop so much. If you’re looking for easy floral drawing ideas that actually feel rewarding, give ink doodles a try, they’re so forgiving and fun. Save this for your next art session!
What you need for a spring flowers easy drawing ink doodle (real talk on supplies)
Look, you don’t need a fancy art store haul. I used a cheap mechanical pencil (0.5 lead) for the rough sketch, a Micron 005 for the super fine lines, and a Micron 01 for the thicker outlines. But here’s the thing, any waterproof pen works. Even a ballpoint will do, though it won’t give you that crisp black ink contrast. The paper matters more than you think. I used a mixed-media sketchbook (Canson 98 lb) because it handles ink without bleeding. But honestly, printer paper works fine if you don’t layer too much water. One more thing: a white gel pen for highlights. That’s it. Four items.
How to sketch the before: loose lines, zero pressure
Ok so start with a light pencil outline. I drew three flowers: a daisy, a tulip, and this weird little freesia thing I can never remember the name of. Don’t overthink the shapes. Make them wobbly. A circle that’s not quite round? Perfect. A stem that bends at a weird angle? That’s character. The goal here is to get the composition down without worrying about perfection. I spent maybe two minutes on this step. Seriously. Two minutes. Lighter pencil strokes mean easier erasing later, though I rarely erase because the pencil lines get covered by ink anyway. Just draw loosely, like nobody is watching (and nobody is).
Inking the outline: why thick lines save your sanity
Here’s where the transformation starts. Use your thicker pen (the 01 or a 0.3mm if you prefer) to trace the outer edges of your flower doodle. Double the line on one side of each petal, that gives a subtle shadow effect automatically. I accidentally did this once and thought I was a genius. Turns out it’s a common trick. Go over the pencil lines firmly but don’t stress if you wobble. Actually, wobbles look better. A perfectly straight line in a flower doodle feels stiff, like a robot drew it. Let your hand relax. Let the ink bleed onto the paper. If you smudge something, turn it into a tiny leaf. Now you have a bonus leaf. See? Forgiving.
Adding tiny details: the before and after magic moment
This is the step that makes people say “whoa, how did you do that?” And the answer is: dots. Just dots. Take your finest pen (005 or a 0.1mm) and start adding small dots around the center of each flower. Tiny dots, spaced irregularly. Then add some along the edges of petals. Then more dots inside the leaves along the veins. I spent a good fifteen minutes on this part, and honestly it felt meditative. The difference between the clean ink outline and the finished piece is literally just thousands of little dots. No shading needed, no cross-hatching. Dots. They catch the light, they add texture, they make the drawing look detailed without requiring any skill at all. Not gonna lie, it feels like cheating. But it’s not. It’s a technique.
- Use varying dot sizes: press lighter for smaller dots, harder for bigger ones. I use the side of the pen nib sometimes.
- Cluster dots at corners and edges of petals to create depth. Leave the center of the petal mostly empty.
- Stagger your dot density, don’t make a uniform pattern. Random feels organic, patterns feel robotic.
Ink doodle mistakes I made so you don’t have to
First time I tried this, I used a thick Sharpie. Big mistake. The ink bled through four pages and ruined the drawing beneath. Also, the tip was too blunt for tiny dots, each dot looked like a cow patty. Second mistake: I inked the pencil outlines before erasing the pencil. That left gray smudges everywhere. So here’s the order: pencil sketch, ink over it, let it dry for a minute, then erase pencil lines gently. Third mistake: I rushed the dot stage. Slow down. Put on a podcast. Give yourself permission to spend twenty minutes on dots. Your hand will cramp a little, that’s normal. Stretch your fingers. Shake them out. It’s worth the ache.
Easy floral drawing ideas: beyond the basic daisy
You don’t have to stick to one flower type. Mix it up. Draw a simple tulip (three petals is enough, nobody counts). Add a dandelion puff, those are basically just a bunch of dots on a stem, super easy. Include a leafy stem that curves around the page. Throw in a few tiny buds on skinny branches. I even drew a little bumblebee once, just a fuzzy oval with stripes and two tiny wings. The bee took thirty seconds. People ask me if I spent hours on it. No, I spent thirty seconds and a dot for an eye. The point is, spring doodles don’t need to be realistic. They need to be recognizably floral and full of texture. That’s it. You can do a whole page of just one flower repeated in different sizes and call it a study. Looks intentional. Looks artistic.
Why ink doodles are perfect for people who hate perfection
Here’s a weird personal detail: I have this thing where I can’t stand coloring inside the lines. It stresses me out. Watercolor, markers, crayons, I always go outside the line and then feel bad. Ink doodles? No lines to stay inside of. You make your own boundaries, and if you mess up a dot, you add ten more dots around it to camouflage the mistake. It’s the most forgiving art form I’ve tried. And the transformation from a simple pencil outline to a dense, textured ink drawing feels like magic every single time. Honestly, I think that’s why people save these tutorials for later, they want that satisfying before-and-after jolt. The mess becomes the art. The wobbles become the character. The dots become the depth. It’s a cheap dopamine hit for about five dollars worth of pens.
So try it. Grab a pen and a piece of scrap paper. Draw a squiggly circle, add five petals around it, then go nuts with dots. You’ll see the before and after with your own eyes. And you’ll probably want to draw another one. And another. That’s how it starts. Save this post for your next art session, and tag me when you post your spring flowers doodle, I genuinely want to see what you make.
#springflowers #easydrawing #inkdoodle #drawingideas #springdoodle
Leave a Comment