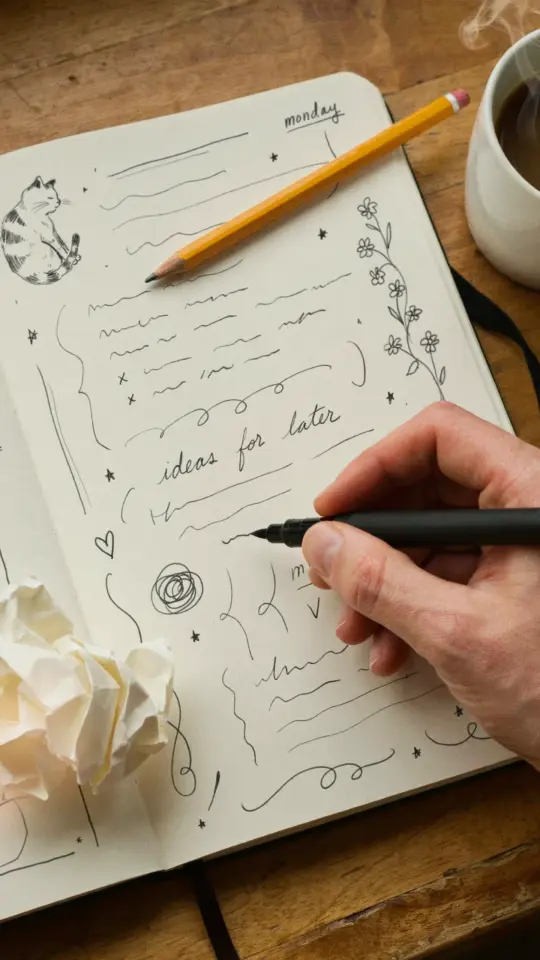
I remember the first time I tried a symmetrical pattern tutorial. I was sitting at my kitchen table with a ballpoint pen I found in a junk drawer and a piece of printer paper. No fancy supplies, no expensive sketchbook, just me and the desire to make something that looked balanced without feeling complicated. That simple session turned into a habit, and now I want to show you how easy it really is. If you have ever doodled in the margins of a notebook, you already have the skills. This guide is about building on that using things you probably already own, no need to spend a dime.
Why Symmetrical Patterns Are Perfect for Beginner Doodlers
Symmetry is forgiving in a way that freehand sketching often is not. When you mirror one half of a shape onto the other, the result automatically looks intentional and polished. For a beginner, that instant visual payoff is huge. You do not need to worry about proportions or perspective, just repeating what you draw on one side to the other.
Because the structure is built around a center line, you can focus entirely on making each small mark deliberate. This reduces the urge to erase or restart. I have taught this method to friends who claimed they could not draw, and within ten minutes they had a completed design they were proud of. That confidence boost matters more than any expensive art class.
The Minimal Supplies You Actually Need on a Budget
You do not need a calligraphy set or a lightbox. Here is what I use, and all of it costs less than a coffee shop visit:
- Any pen or pencil. A regular ballpoint or a mechanical pencil works perfectly. I actually prefer the cheap Bic pens because they glide smoothly and never skip.
- Paper. Notebook paper, printer paper, or the back of an envelope. The only requirement is that it is flat and large enough for your design.
- A ruler or straight edge. Even a book spine can work. You just need a guide to draw your center line.
- Optional: a piece of cardboard or old magazine. Slip it under your paper to protect your table. This is not necessary, but it keeps your lines from wobbling on a soft surface.
That is it. No special markers, no erasers (though you can use one if you want), no expensive sketchbooks. I have created some of my favorite patterns using a dried-out highlighter that still left a faint yellow line. Resourcefulness beats supplies every time.
My Step by Step Method for Balanced Line Art
Start by drawing a straight vertical line down the center of your paper. This is your axis of symmetry. It does not have to be perfectly centered, but try to keep it straight. Use your ruler or the edge of a book.
Now choose one simple shape, a circle, a leaf, a triangle, whatever feels comfortable. Draw it on the left side of the center line, close to it. Then draw the same shape on the right side, mirrored. The distance from the center line should be the same on both sides. Do not worry if it is not exact at first. Practice makes the spacing feel natural.
Keep adding elements outward from the center. You can layer smaller shapes inside larger ones, or draw lines that branch like branches. The trick is to finish one side completely before moving to the other. I work on the left side first because I am right-handed, but lefties can start on the right. It is just about reducing smudges and keeping your hand out of the way.
Repeat this process for each new shape. Before you know it, you will have a growing pattern that looks complicated but was built one simple step at a time.
Simple Shapes That Make Symmetry Easy
You do not need complex geometry. The shapes I use most are circles, dots, teardrops, waves, and zigzags. A circle is the easiest because you can draw it as a spiral or a solid dot. Teardrops look elegant when placed in alternating directions along the axis. Waves add movement without requiring any measuring.
Here is a personal trick: draw a small circle on the left, then a teardrop pointing away from it on the right. Mirror that on the other side. You now have a simple flower-like unit. Repeat that unit all the way down the center line, and you have a full symmetrical pattern. The repetition does the heavy lifting for you.
If you want to try something slightly more challenging, use a single curved line that starts at the top of the center line and arcs outward, then mirrors it. That creates a leaf shape. Fill the inside with smaller dots or short parallel lines. The variety comes from how you fill the shapes, not from drawing complicated
#tutorial #drawing #doodle #pattern #symmetry
Leave a Comment