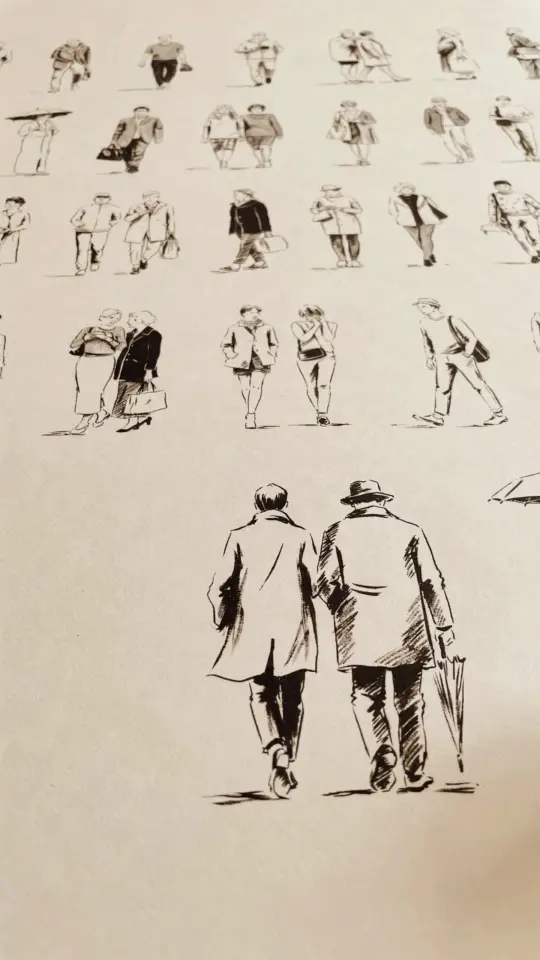
You can spend forty dollars on a fancy mannequin, or you can look at your own elbow. Most people think drawing people well requires expensive tools, but honestly, it doesn’t. All you need is a pencil, any scrap of paper, and a simple mental trick that I stumbled on by accident while doodling in a waiting room.
The secret is dots. I’m not talking about pointillism or some technical art method, I’m talking about literally drawing four small dots on your page before you start sketching the body. These little marks act like training wheels for your brain, keeping the shoulders and elbows in line so your figure doesn’t end up looking like a melted action figure. It’s the cheapest drawing hack I know.
Why Your Figures Look Wonky (It’s Not Lack of Talent)
Look, I’ve been there. You sketch a head that looks decent, then the body just goes rogue. The arms end up different lengths, or the shoulders tilt like the figure is perpetually sliding off a chair. The problem isn’t your hand, it’s your measuring system. Your eyes are lying to you.
We get so caught up in drawing the outline of a body that we forget the bones underneath. We obsess over the curve of a bicep while the shoulder joint is sitting two inches too high. The fix isn’t to draw faster or harder, it’s to slow down and place a few reference points first.
The 4-Dot Trick That Costs Nothing
Here’s the thing, you need exactly four dots. Two for the shoulders and two for the elbows. That’s it. No grid, no proportional calipers, no expensive proportional divider tool. Just a dull pencil and a steady hand.
After you sketch a quick oval for the head (I use a tiny circle, but that’s my preference), you place the shoulder dots. They should sit roughly two head-widths apart, on a subtle diagonal if the person is relaxing. The elbow dots go lower, aligned with the bottom of the ribcage, and they should be slightly wider than the shoulder dots if the arms are hanging naturally. When you connect these dots with light, almost invisible lines, you suddenly have a skeleton to build on. It makes the whole process feel less like guessing.
Positioning the Dots for Natural Poses
The magic happens when you start moving those dots around. Shift the shoulder dots up on one side, and suddenly your figure is shrugging. Drop the elbow dots outward, and you get arms akimbo, ready for a sassy pose. It’s like a game of connecting points, but you’re building a human.
Try this the next time you sketch. Put the head down, then the four dots, and then stop. Look at the gap between the dots and the head. If there’s too much room, you’ll get a giraffe. If there’s no room, you get a hunchback. Move the dots until the spacing feels right to you. Honestly, this takes about fifteen seconds, but it saves you from obliterating three pages of sketches with a bad eraser.
A Quick Sketching Exercise: Draw From Life in Your Notebook
Ok so you don’t need a model for this. You have a mug of coffee, a pet, or your own reflection in a window. The goal is to train your brain to see the dots in real life, not just on a blank page. Here is a little exercise that works for me:
– Look at a live person or a photo of a person. Ignore their face completely.
– Squint your eyes until everything blurs into shapes.
– Imagine a tiny dot at the center of their left shoulder. Now imagine one on the right.
– Visualize where the elbows would be, often hidden in the blur.
– Try to place those imaginary dots on your paper in one swift motion.
Do this for ten minutes a day, and you’ll stop drawing ‘people’ and start drawing ‘this specific person’. It changes everything. I used to avoid drawing hands and elbows because they were hard, but now they’re just the spaces between my dots.
Working With a Cheap Notebook and a Regular Pencil
Let’s talk about the notebook. Mine is a spiral-bound sketchbook that cost me three bucks at a pharmacy. The paper is a bit thin, and the pencil smudges if I rest my palm on the page. But guess what? It doesn’t matter.
The dot trick works because it relies on your perception, not the tooth of your paper. If I had waited until I could afford top-tier supplies, I would never have started drawing at all. I use a standard number 2 pencil because I love the softer, grayer line, and I feel like the eraser is a little more forgiving. Use whatever you have stuck in a drawer. The budget art movement is all about proving that skill beats expensive tools every single time.
Beyond the Basics: Using Spacing to Build a Whole Figure
Look, this method isn’t just for torso sketches. Once you get comfortable with the shoulder and elbow dots, you can add more dots for the hips and knees. You start to realize that drawing people is just a series of relationships between points. How far is the knee from the hip? How wide are the hips compared to the shoulders? These are the questions you answer with your pencil.
I usually add a dot for the clavicle notch, that little dip at the base of the throat, and one for the belly button. It sounds weird to say out loud, but it helps me anchor the torso. After a while, you won’t even need to see the dots on the page, you’ll just feel them in your head. You’ll look at a stranger on the bus and instantly map their joints in your mind. This is a skill nobody can take from you.
Overcoming the Fear of the Blank Page
The best part about the dot method is that it gives you a starting point without the pressure. With just a few spaced dots, the page already looks like a map, a game, a puzzle to solve.
When you finish a drawing, don’t judge it too harshly. Did the shoulders look straight? Then the dot trick did its job. The rest is just practice, and you don’t need a studio or expensive software for that. You just need to show up. Save a few sketching prompts and budget art ideas for later, grab your pharmacy notebook, and let the dots guide you. That’s the whole secret, honestly, it’s just math for your pencil.
Leave a Comment